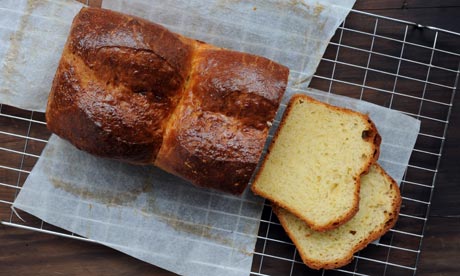
It's only because we have these step-by-steps that I could even think about showing this brioche recipe. Getting all the butter worked smoothly through the dough is crazily messy, but once it's chilled in the fridge overnight it becomes easy to shape. Here I've made a classic brioche tin loaf – perfect sliced and toasted alongside slices of chicken liver terrine – plus a simple twist shape filled with chocolate, custard and nuts. It does colour quickly in the oven, and traditionally in France the crust is allowed to turn a rich, dark brown, so if you prefer the crust slightly lighter in colour, drop the oven temperature even more towards the end of the baking time.
Extra-rich brioche
Makes 1350g dough
2 x 7g sachets fast-action yeast
50ml warm water
5 medium eggs
575g Italian "00", or strong white flour
75g caster sugar
2 tsp salt
350g unsalted butter, softened
Extra flour for kneading and shaping
Beaten egg to finish
1 Stir the yeast and water in a mixing bowl, leave for 5 minutes, then whisk in the eggs until smooth. Mix in the flour, sugar and salt, then knead the dough for a minute until smooth (the egg can turn the dough grainy if you don't). Leave for 10 minutes.

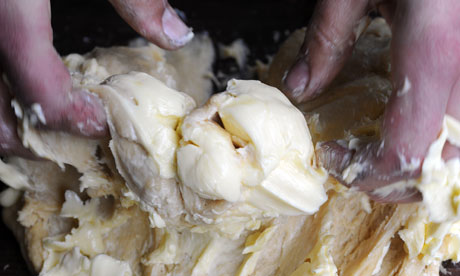
2 The easiest way to mix the butter through the dough is with an upright Kenwood-style stand mixer, but I do it by hand this way. Spread the dough out on a clean worktop, then break the butter into lumps and drop them over the top. It's advisable to have a scraper ready, as this will get very messy. Work the butter into the dough energetically, scraping and squeezing with your fingers again and again, until you have a smooth mixture. It will take you about 4-5 minutes and there will be an "oh my goodness" moment in the middle.
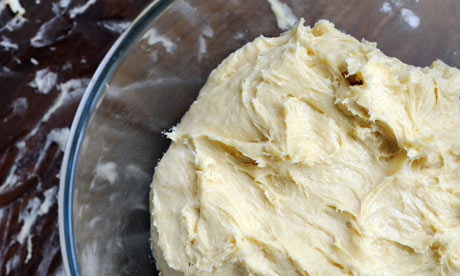
3 Use the scraper to push the dough back together every so often, then when it is utterly smooth and slightly elastic, scrape it into a ball, scoop it up and return it to the bowl. Cover with clingfilm, refrigerate for 24 hours (the dough keeps chilled for 3-4 days) and relax, as most of the work is done.
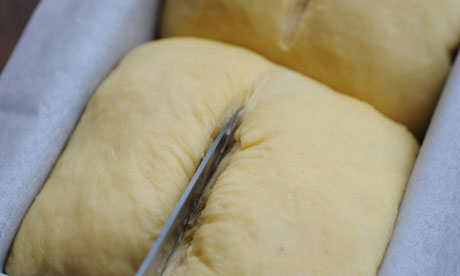
4 Line a large, deep loaf tin with non-stick paper. Set aside 500g of dough for the second recipe (or a second smaller loaf) and divide the rest into two equal pieces. Lightly knead and shape them into balls while still cold, place side-by-side in the tin, cover, and leave for 3-4 hours until almost doubled. Chill the risen loaf for 30-45 minutes to firm the exterior, brush with beaten egg, and bake at 200C/180C fan/400F/gas mark 6 for 10 minutes. Reduce the heat to 180C/160C fan/350F/gas mark 4 and bake for a further 30-40 minutes to a deep, dark brown. Remove from the tin as soon as it's out of the oven, and leave to cool on a wire rack.
原文连接:http://www.guardian.co.uk/lifeandstyle/2013/may/24/dan-lepard-brioche-loaf-recipe